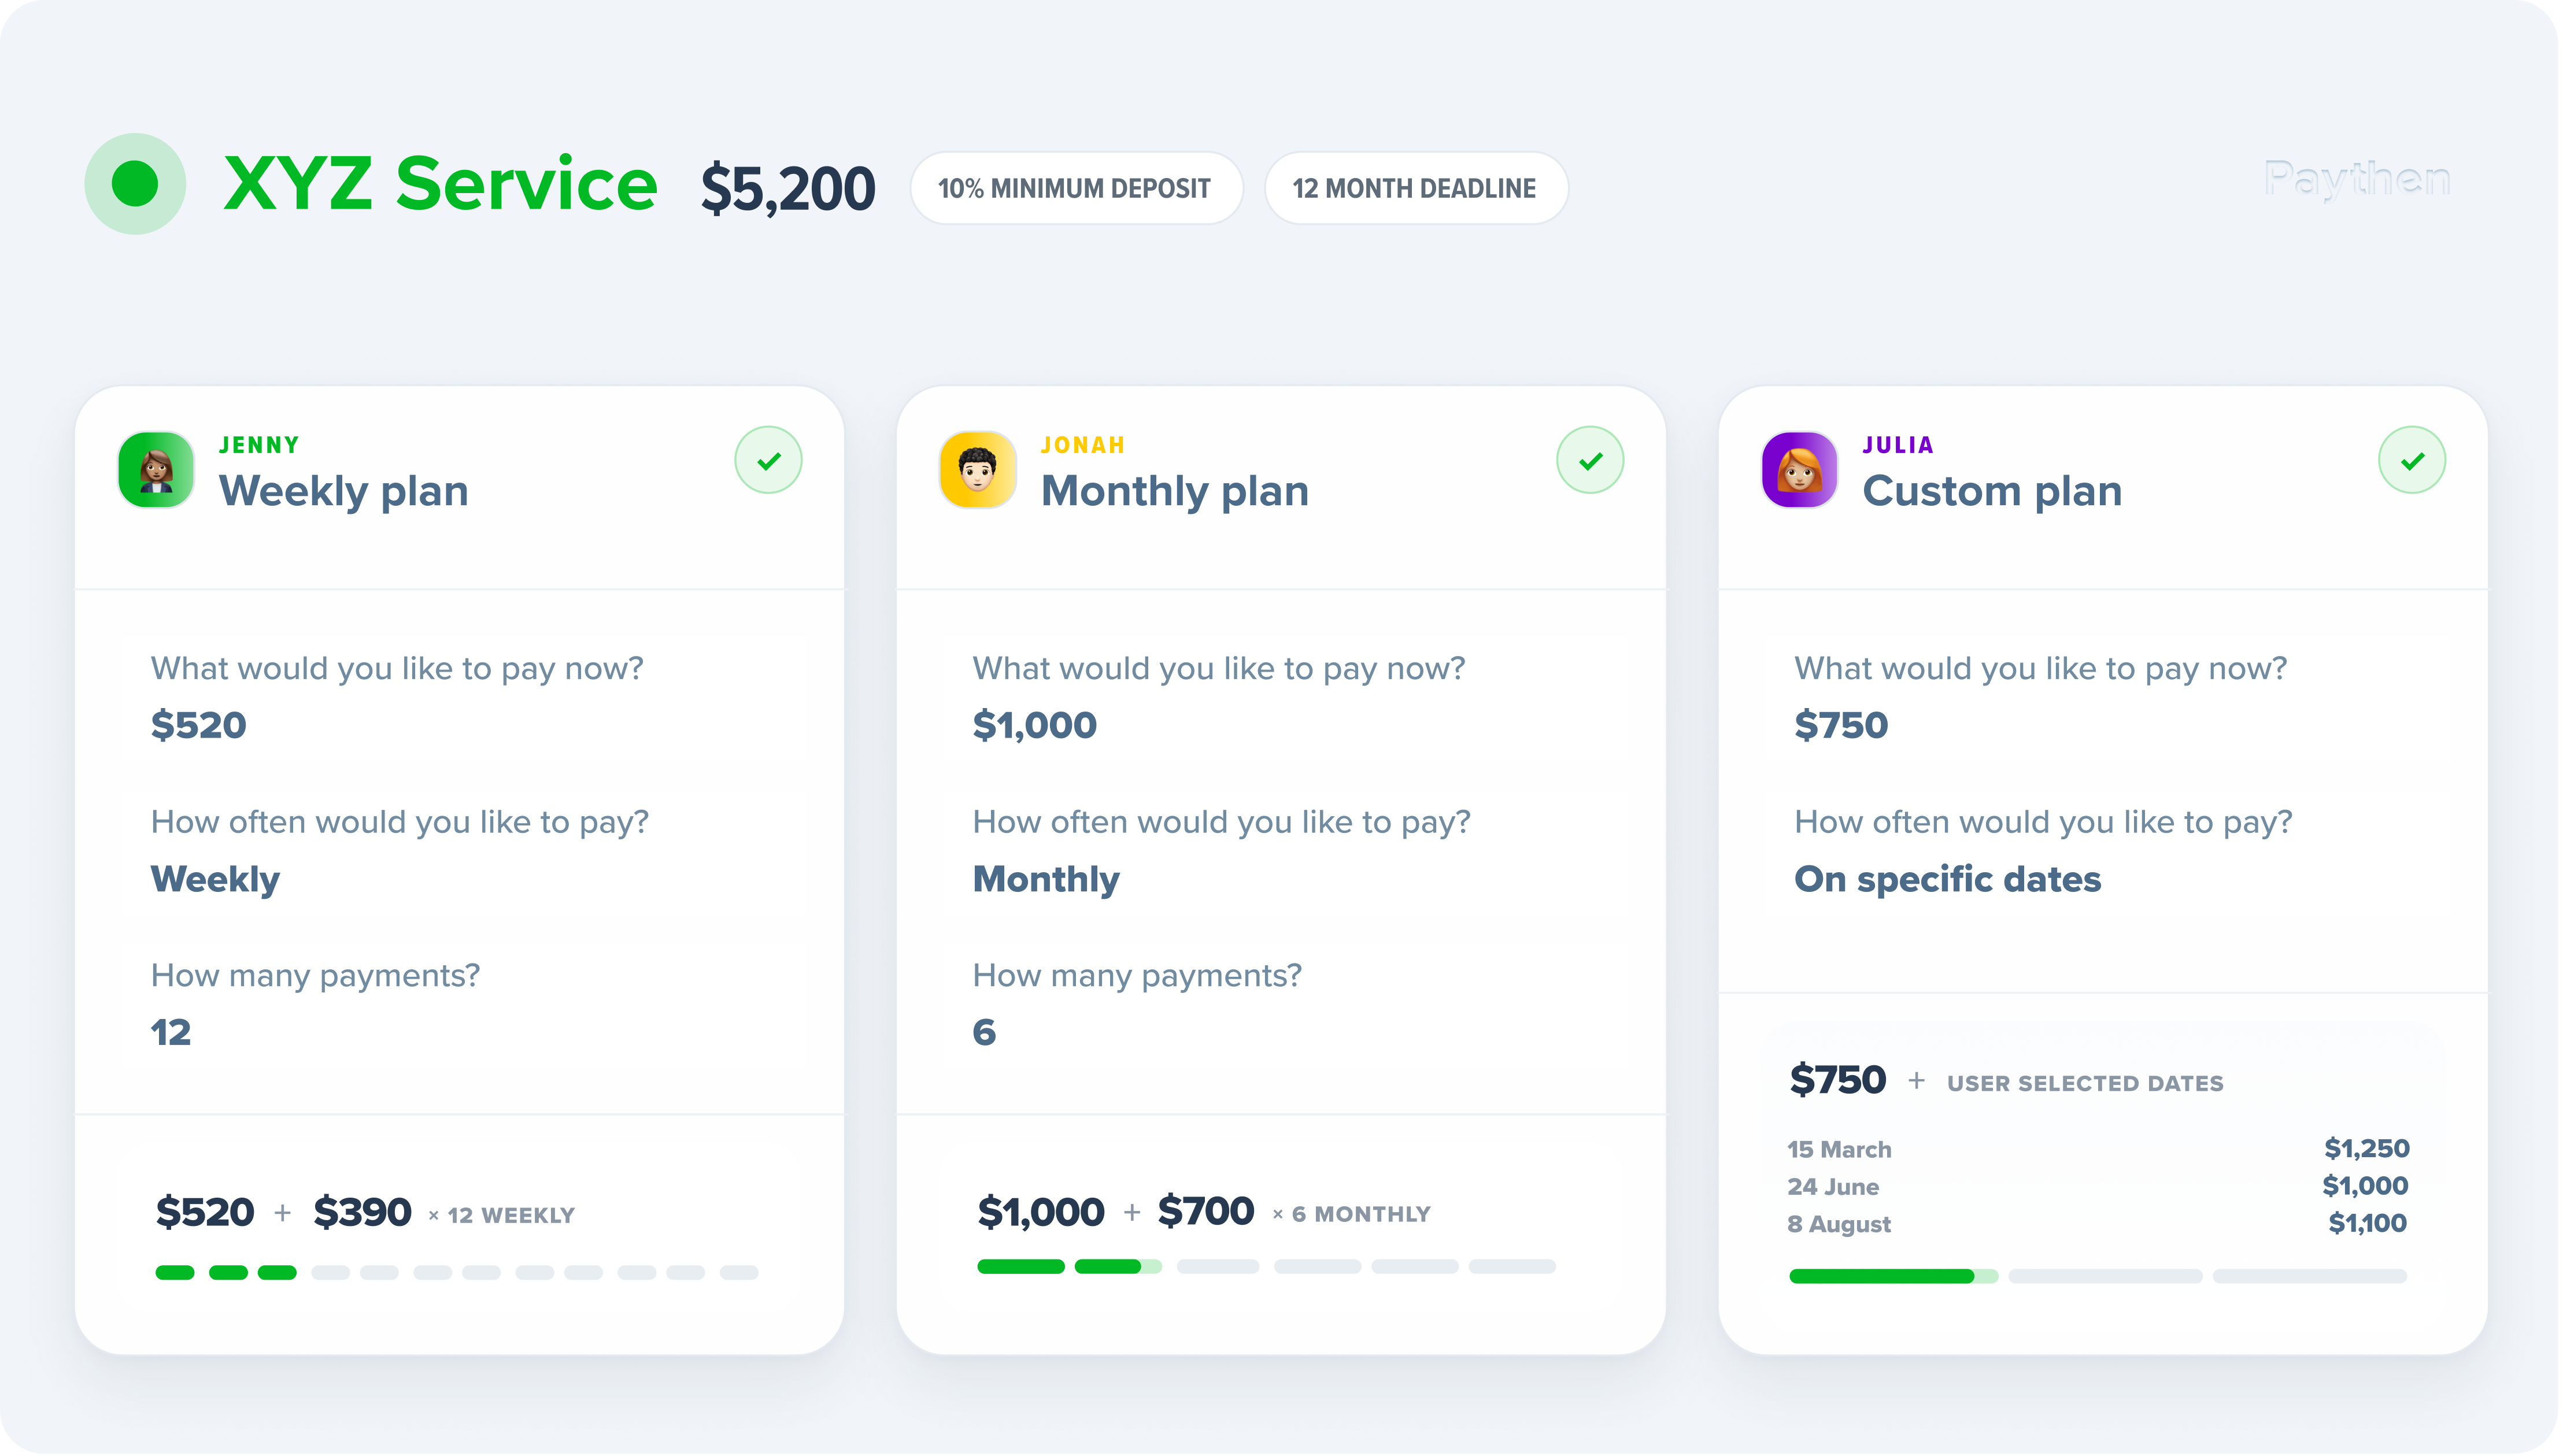
Want to let a customer pay a deposit today and the rest over time? With Paythen, you can connect your Stripe account, create a payment plan and share a link with customers to pay, without writing any code or setting up a whole eCommerce store. Paythen makes Stripe payment plans easy and is a Stripe verified partner.
You choose the amounts and schedule. Your customer signs up through the link, and Paythen manages the schedule and uses your Stripe account to process payments. Once the plan is fully paid, the charges stop and the customer status changes to completed in Paythen and remains available for reference.
It works whether you’re enrolling students in a course, selling a coaching package or collecting an agreed fee for a service.
Create your own payment plan link →
Does Stripe offer payment plans?
Yes, in a few ways. Which one fits depends on whether you want later payments collected automatically and whether you want to write code.
| Option | How later payments are collected | Best for |
|---|---|---|
| Stripe invoice payment plans Private preview |
Split one invoice into up to 50 due dates. Stripe sends reminders, but your customer returns to pay each one by hand. | Occasional invoices where the customer is happy to pay manually. |
| Stripe Billing subscriptions | Charged automatically. A set number of payments, a deposit or a different first amount needs extra setup, usually through the API. | Teams with a developer. |
| Buy now, pay later via Stripe Klarna, Afterpay, Affirm |
You’re paid upfront and the provider collects from your customer. Higher fees, amount limits and approval checks apply. | Lower-value retail purchases. |
| Paythen (with your Stripe account) |
Charged automatically to your customer’s saved card. Offer fixed instalments, a deposit then instalments, set dates, Pay your way or Flexipay, where customers pick their own schedule within your rules. Reminders, retries and a customer page included. | Courses, coaching, services and events that want flexible plans live in minutes, with no code. |
The rest of this guide shows the Paythen option, step by step.
An example: $600 today, then five monthly payments
Say you offer a training program that costs $3,200. You want students to secure their place with $600 paid immediately, then spread the remaining $2,600 over five months.
Your payment plan would look like this:
| When | Customer pays |
|---|---|
| When they sign up | $600 |
| One month later | $520 |
| Two months later | $520 |
| Three months later | $520 |
| Four months later | $520 |
| Five months later | $520 |
| Total | $3,200 |
That’s six payments altogether—not an ongoing subscription. You can even collect different amounts on pre-set dates or let students pick their own within your parameters.
You can put the payment plan link in your enrolment email or behind a button on your course page. Each student opens it and signs up with no login needed.
Here’s how to set it up.
1. Connect your Stripe account
Create your Paythen account, have a play in test mode and follow the prompts to connect Stripe.
Stripe processes the payments. Paythen gives you the tools to create the plan, share it with customers and manage collection.
You don’t need WooCommerce, Shopify or Eventbrite for this workflow. A payment plan link can work on its own.
2. Choose the amount and payment schedule
Create a payment plan for the product or service you’re selling. Give it a clear, customer-facing name, such as “Acme Corp AI Fundamentals” or ” Acme Agency XYZ Service”.
Decide:
- The total your customer will pay.
- What they’ll pay when they sign up.
- How much they’ll pay after that.
- How often payments should happen.
- How many payments complete the plan.
For our example, the intended schedule is $600 on signup followed by five monthly payments of $520. Check the total and payment amounts carefully before sharing your link.
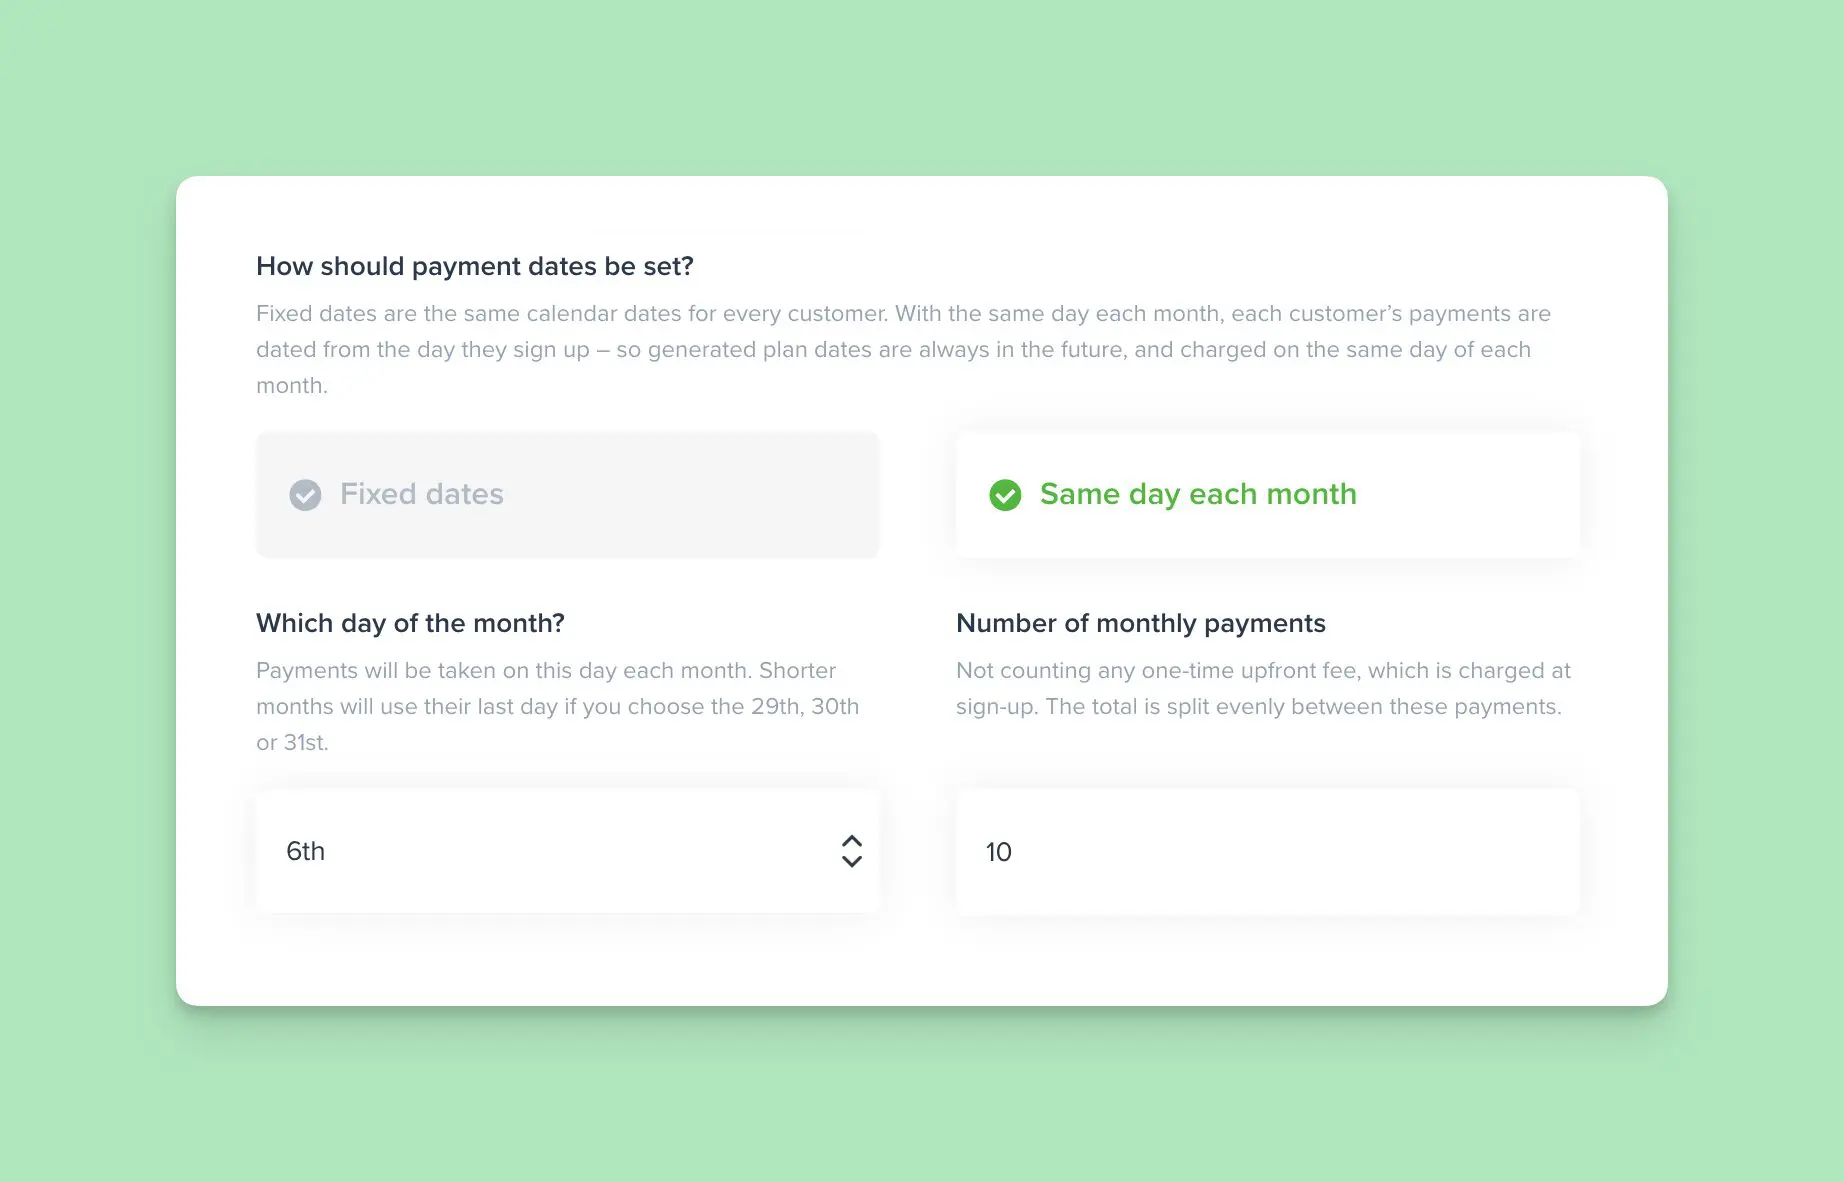
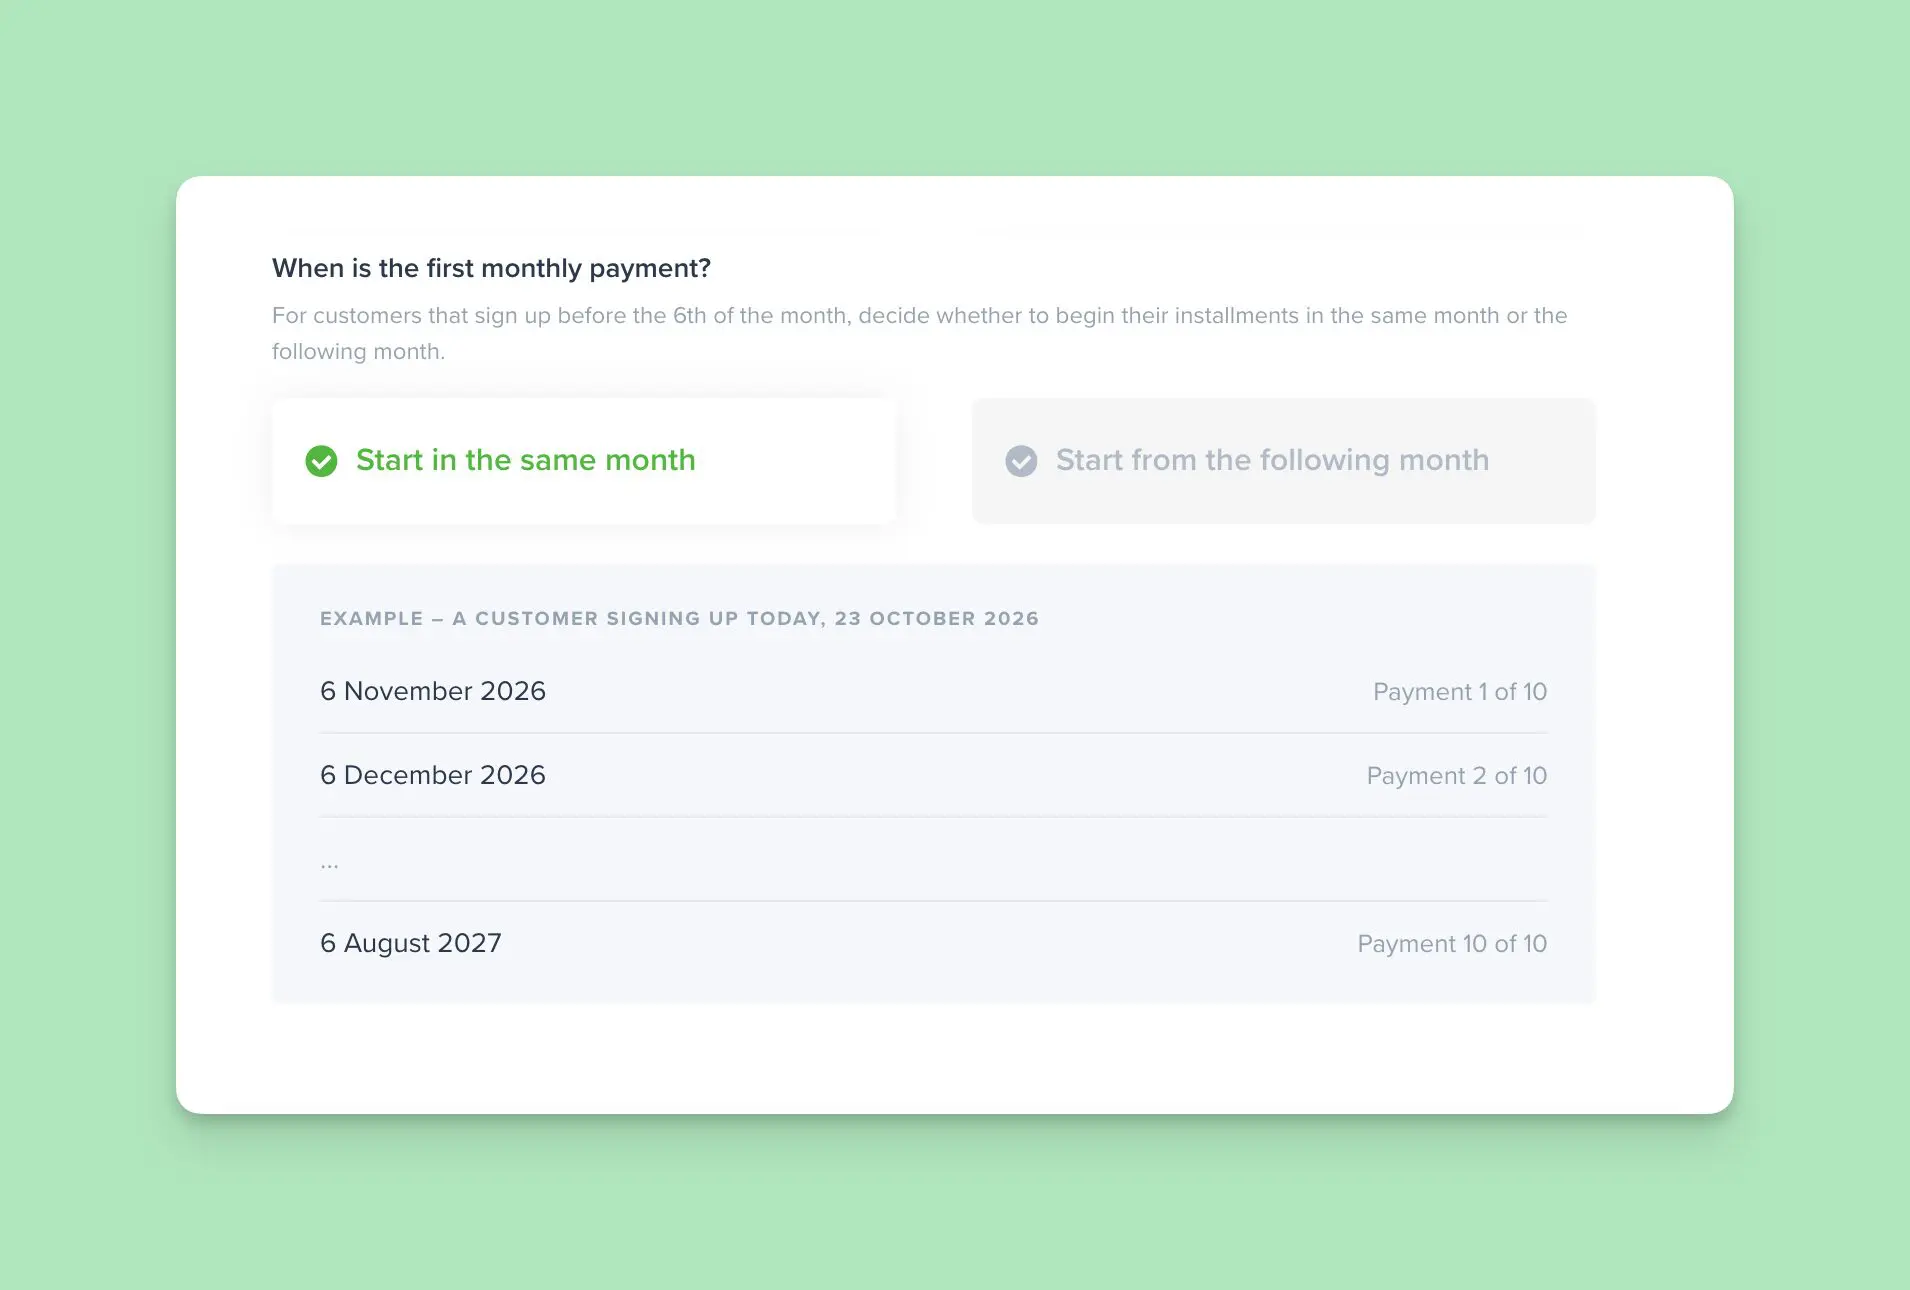
Need everyone to pay on the same calendar dates? Use a date-based payment plan. That can suit a course intake or an event with a shared payment deadline. Standard plans instead follow a billing interval based on when each customer signs up.
Or use a Flexipay payment plan to give customers the most flexibility – each customer can choose how they want to pay while meeting your deposit and deadline requirements.
3. Check what your customer will see
Once you create your plan, you can view it exactly like your customer would and make edits as needed.
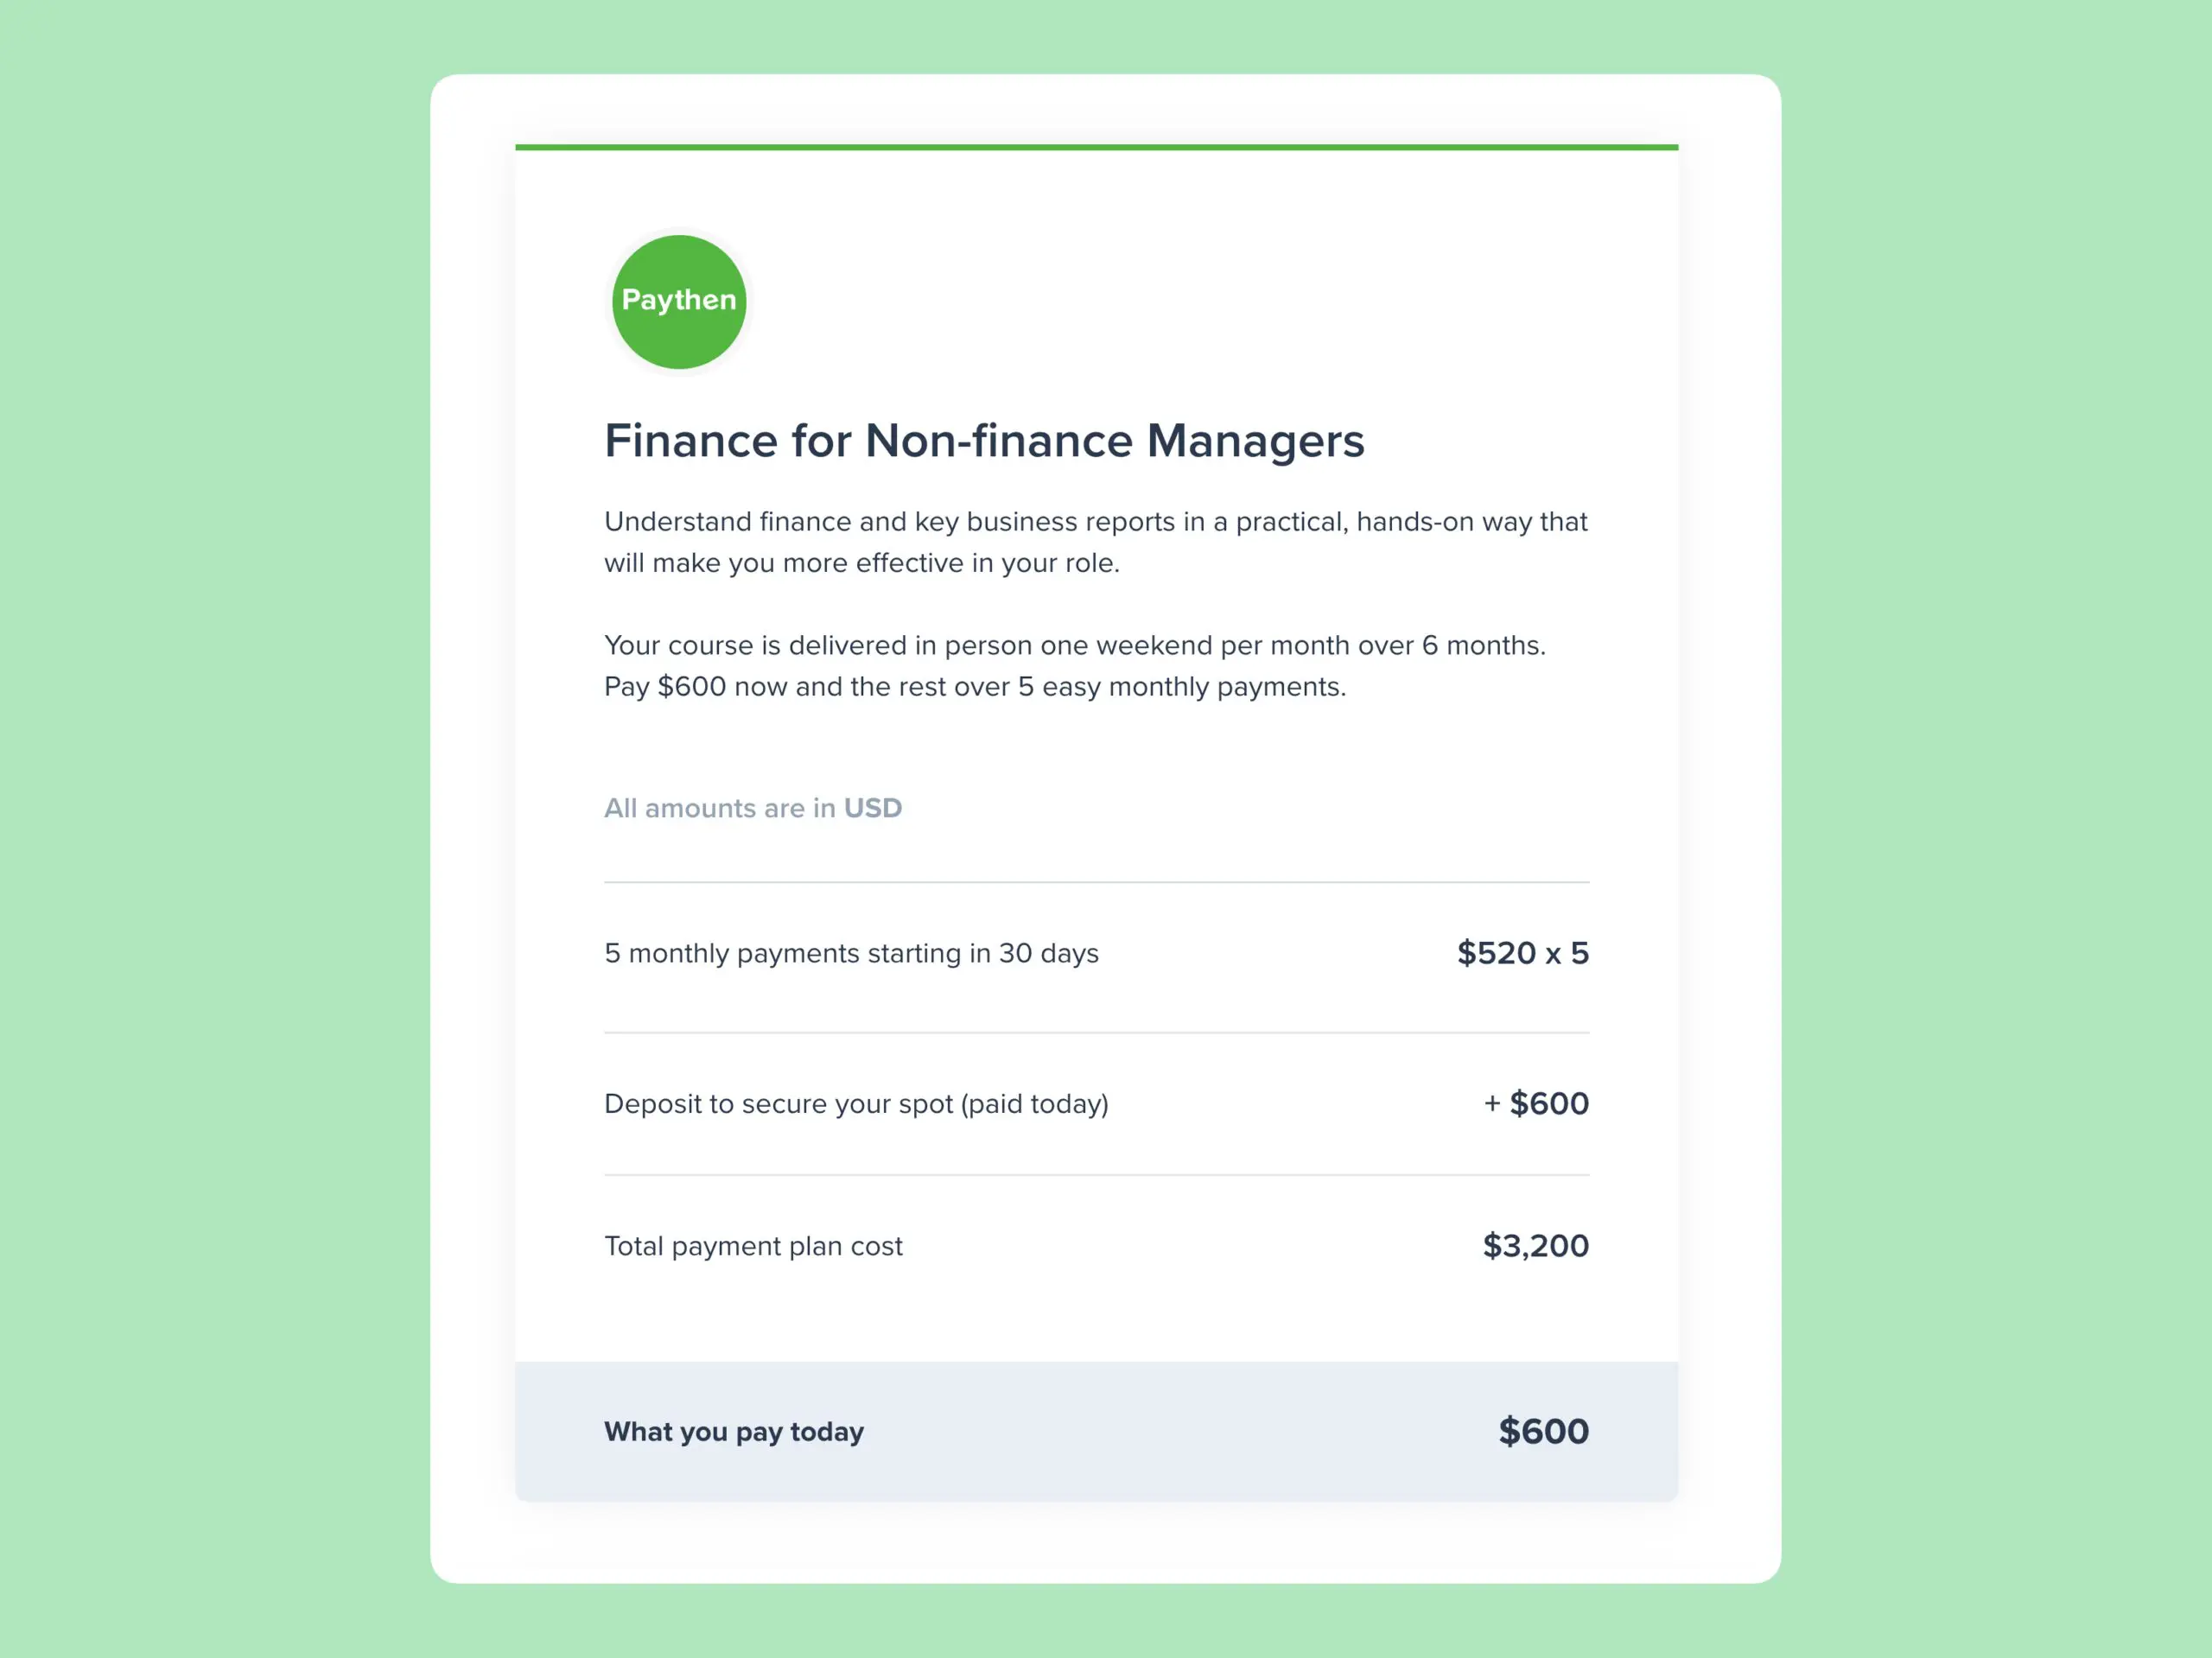
Open your plan’s payment page and review the name, amounts and schedule. Try this example plan as a customer
Your customer should be able to understand what they’re buying, what’s payable now and what comes next. Make sure your description and payment terms match the offer you’ve agreed with them.
For a course, explain what the first payment secures. For a service, identify the package or work the payments cover.
4. Share your payment plan link
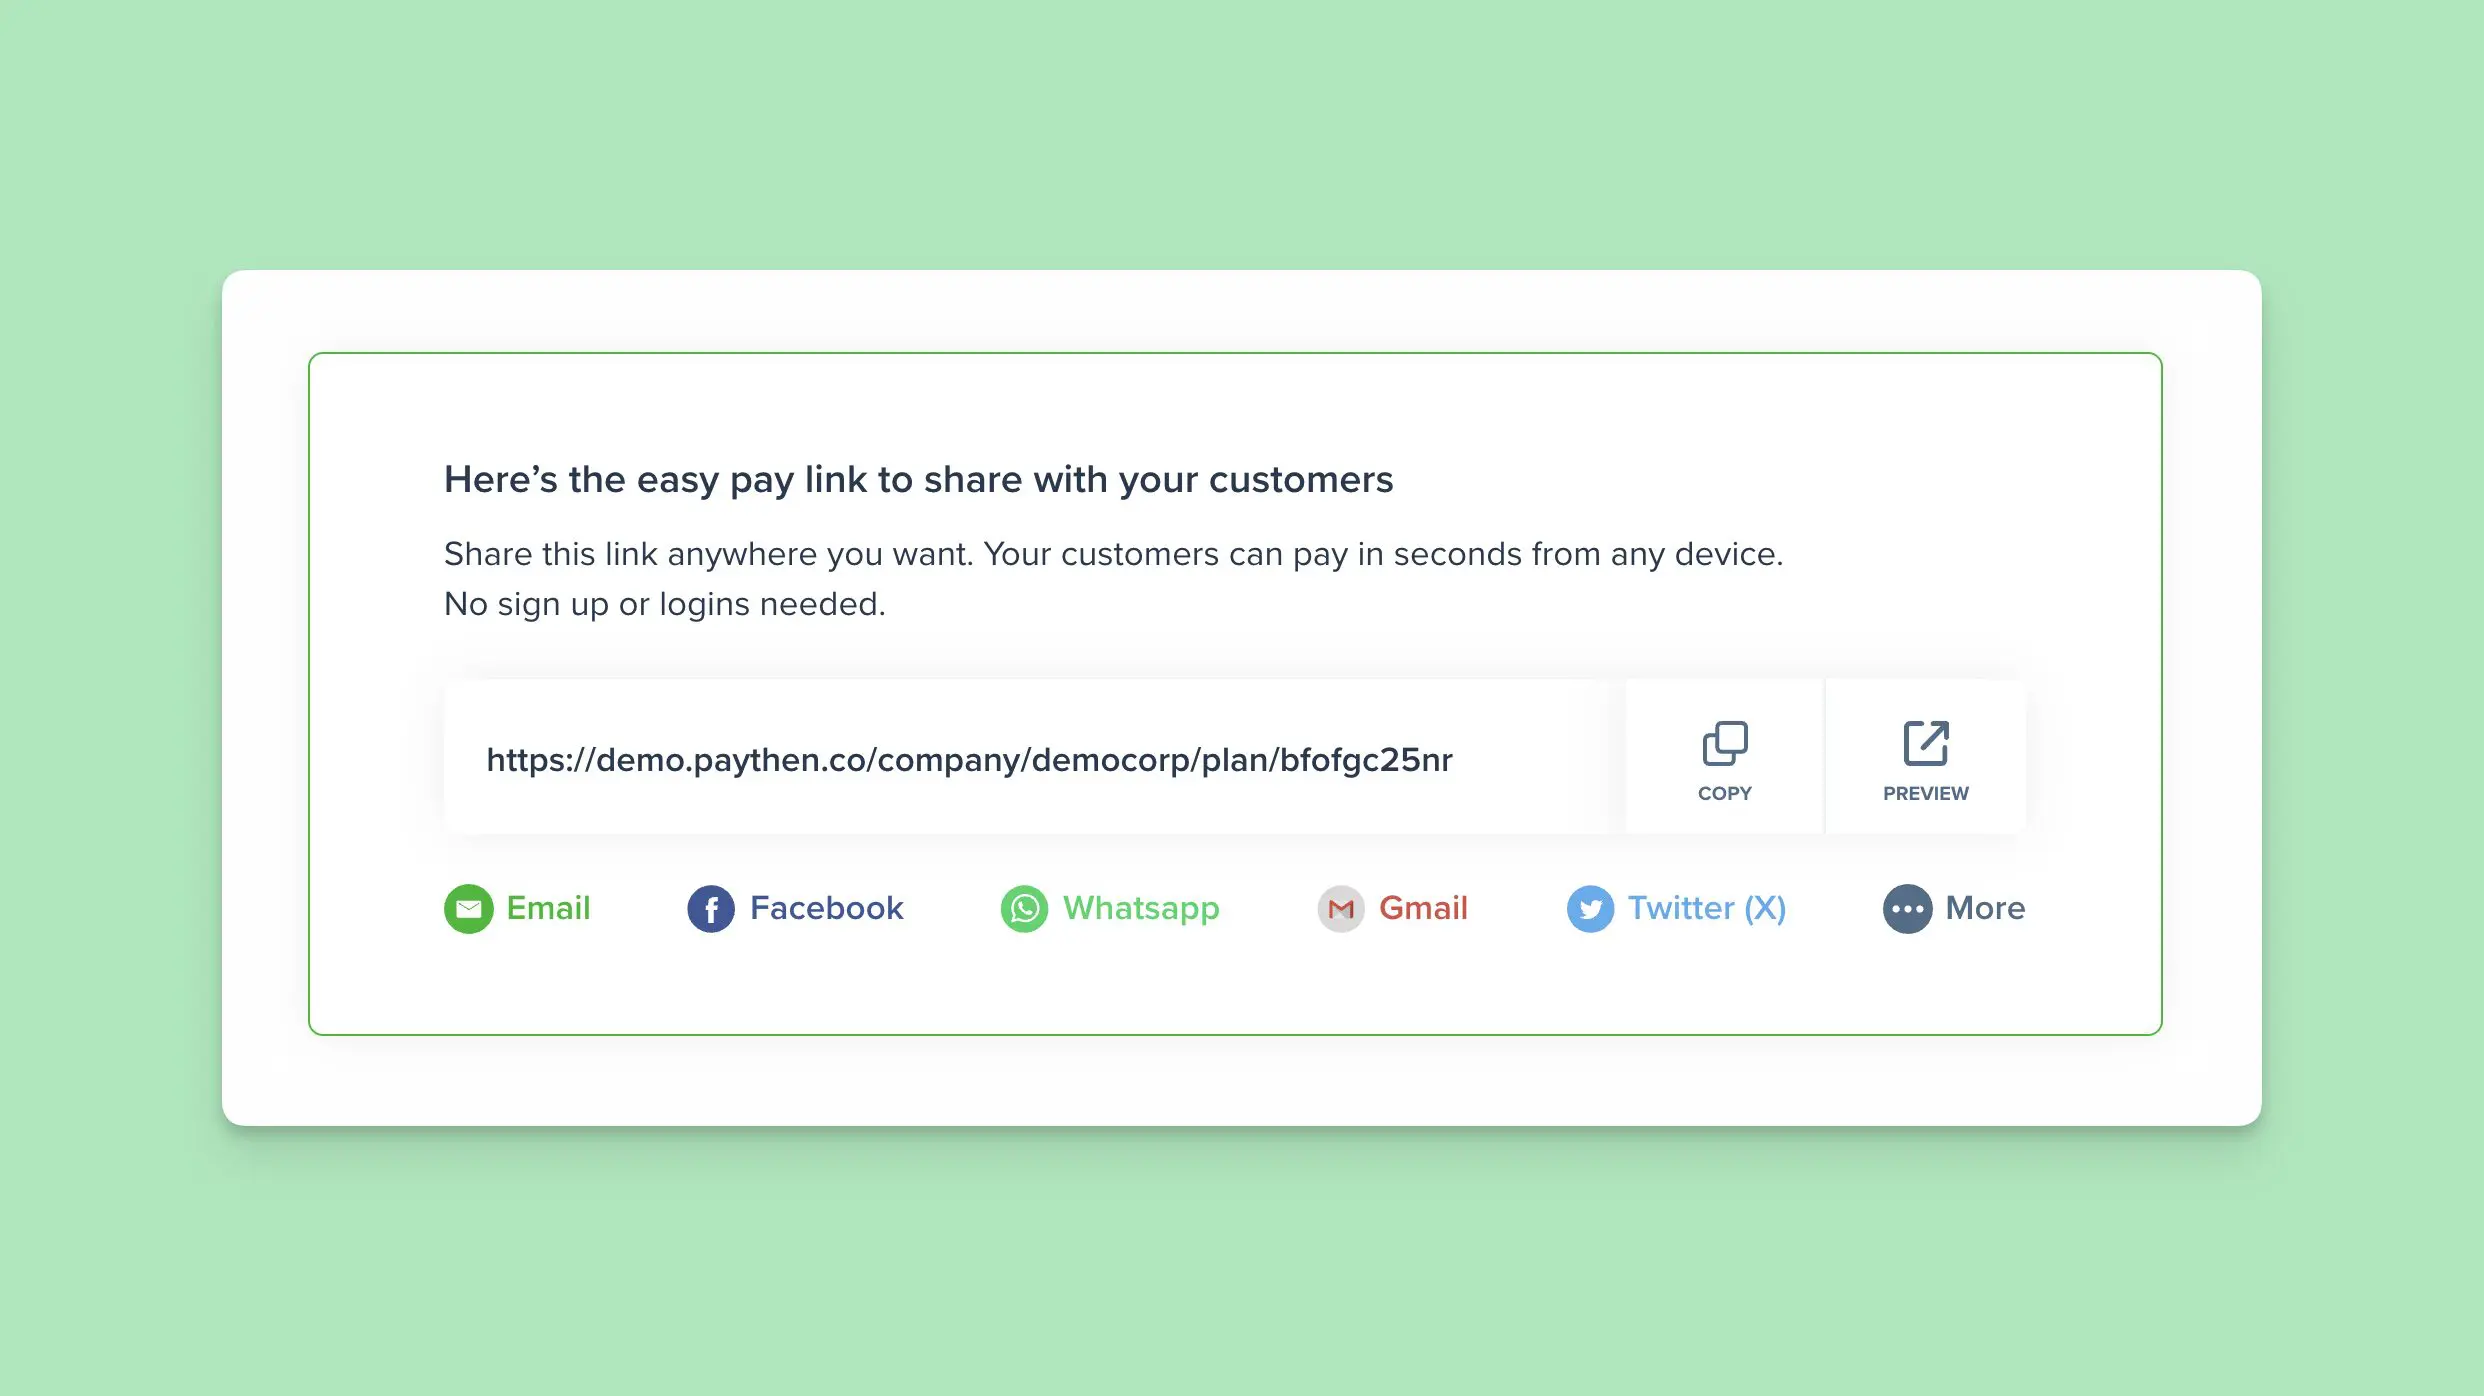
Send the link wherever you already interact with customers:
- In a follow-up email after a sales call.
- Alongside an accepted quote or proposal.
- In a course enrolment email.
- Through WhatsApp, iMessage or another messaging app.
- Behind a payment button on your website.
You don’t have to move the sale into an ecommerce checkout. If you’ve already agreed on the offer, the link is the next and easy step for arranging payment.
Hint: If you’ve agreed on a payment plan, you can still incentivize customers to consider paying in full as they are checking out by using a “pay in full discount” on our Pay your way and Flexipay plans. This shows an optional “pay now” option on the same link as the payment plan. Here’s an example of a Pay your way plan that costs $1,000 + a $20 admin fee for the payment plan and $1000 minus 10% for the pay in full option – visible at the one payment link you share.
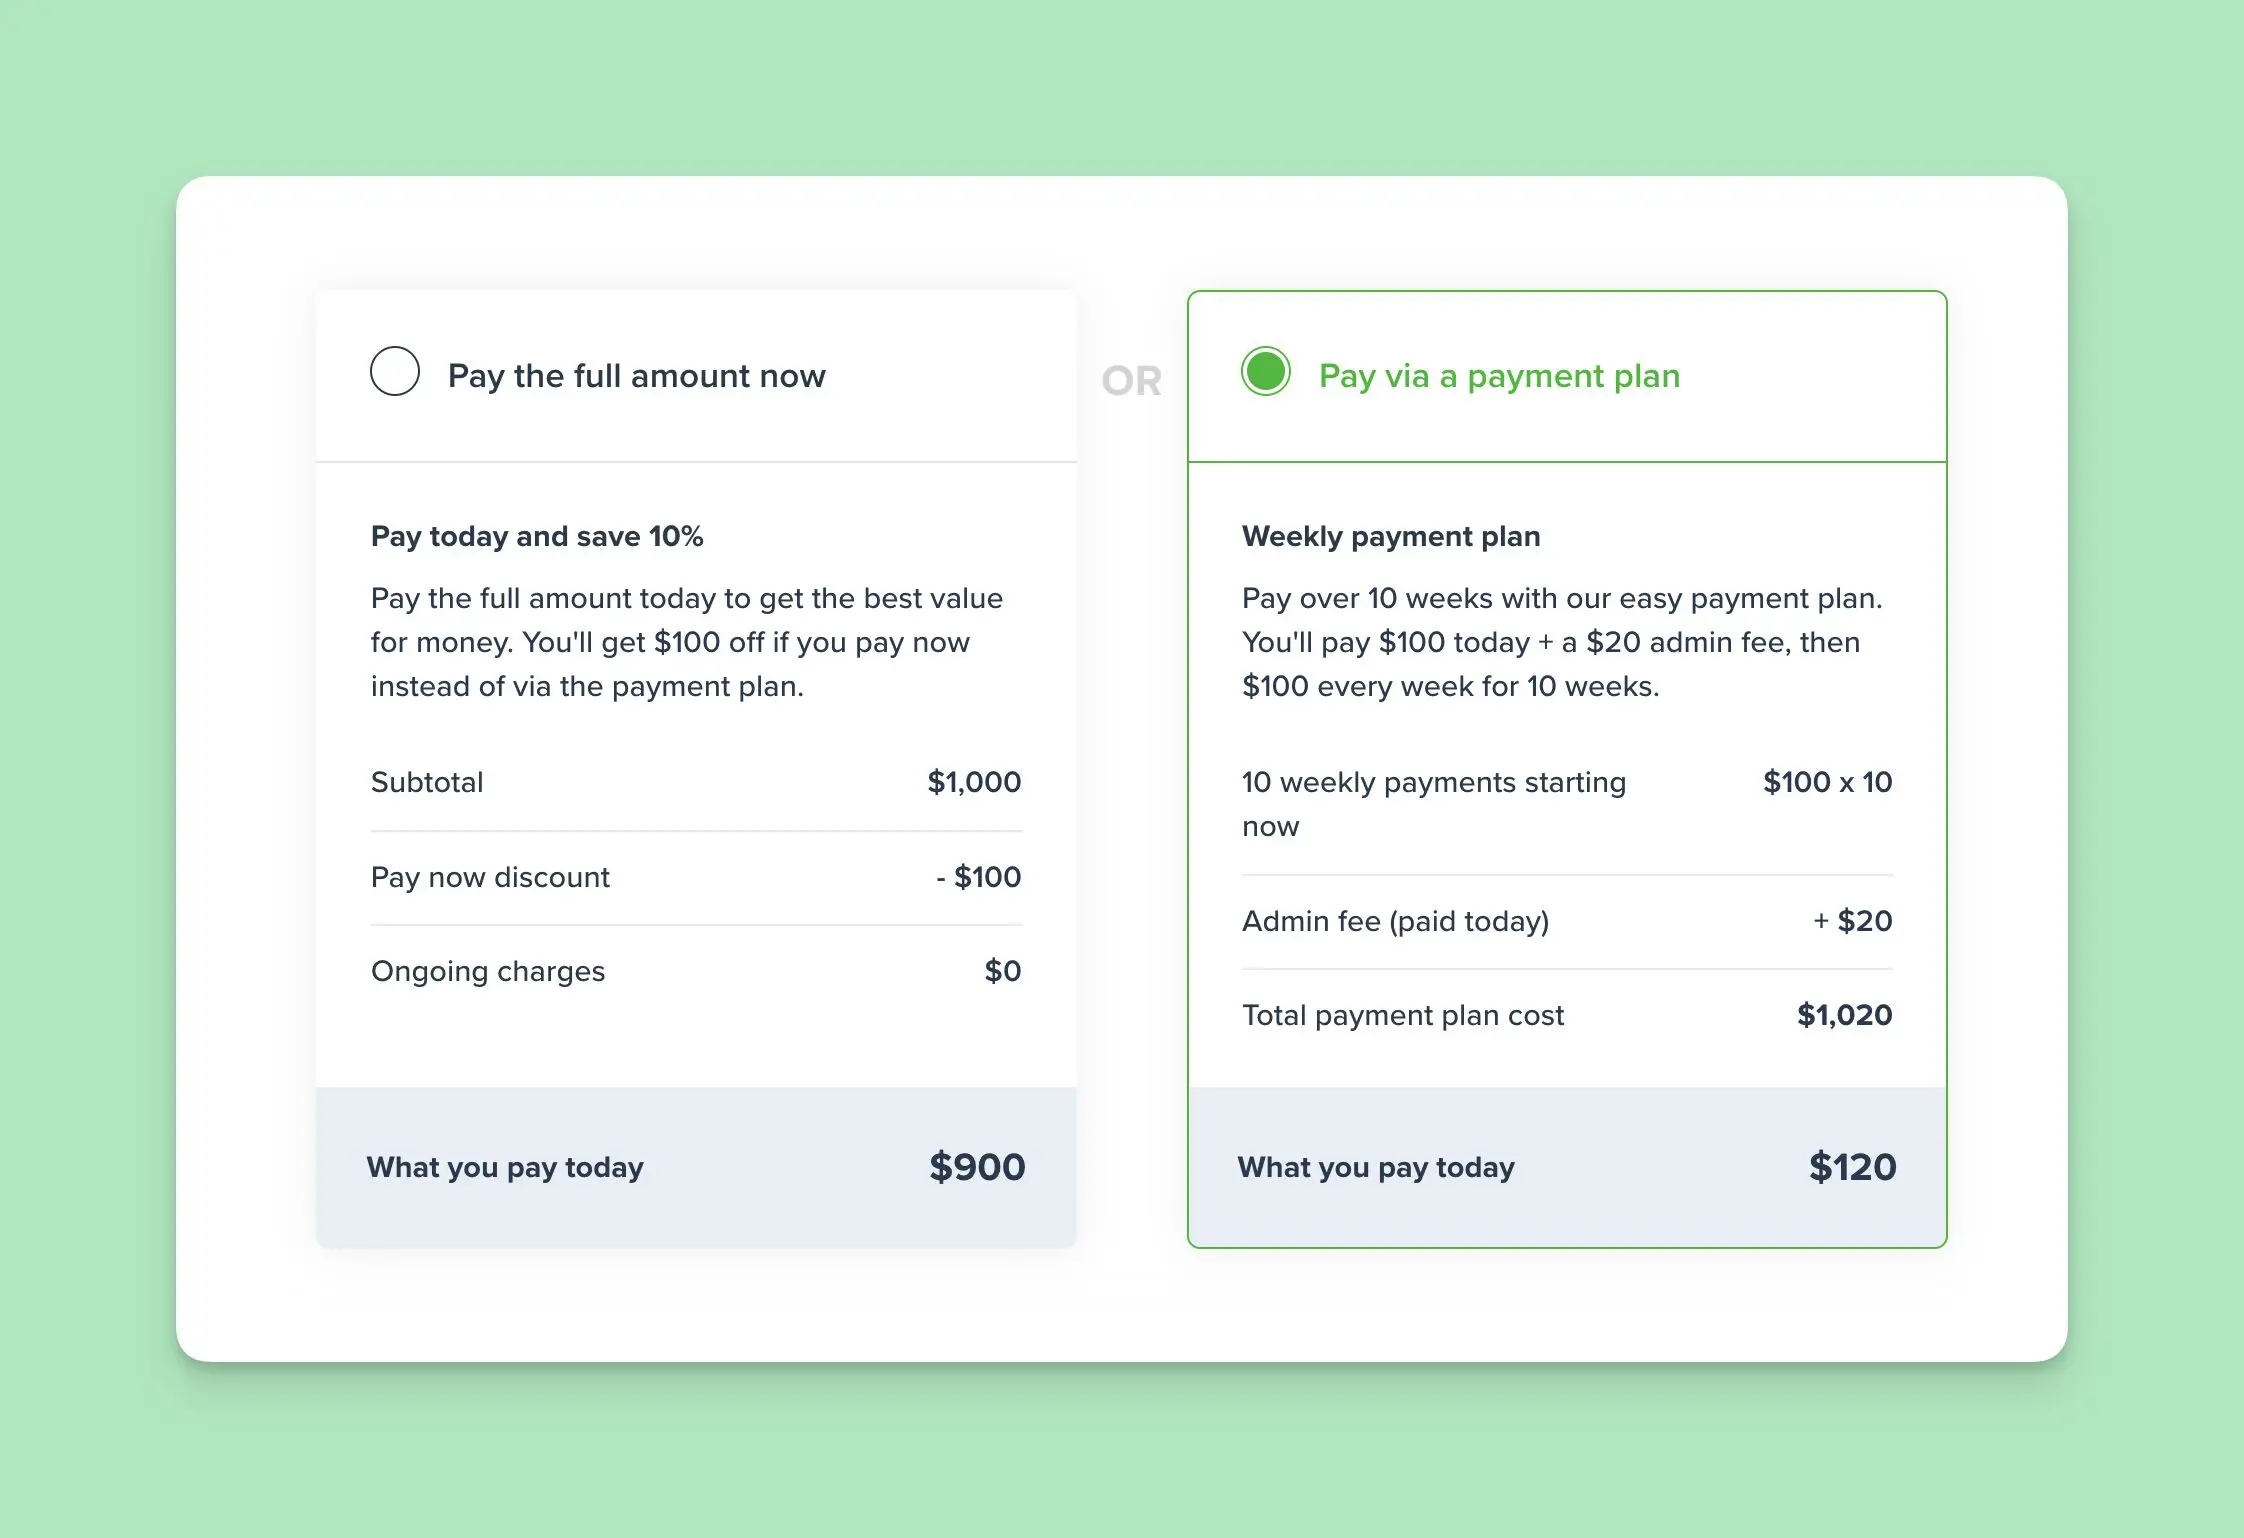
Try a customer checkout of this Pay your way plan
5. Let Paythen manage the scheduled payments
After your customer signs up, the remaining payments are collected automatically according to their plan schedule.
Paythen sends upcoming-payment reminders and provides a customer page where they can check their balance, access receipts and update their card details. Explore the customer tools.
If a scheduled payment fails, Paythen handles automatic notifications (for you and the customer) and retries. You can see which customers need attention in the dashboard without keeping a separate spreadsheet of due dates. How failed payments work.
Automatic collection doesn’t guarantee that every payment will succeed. Some payments may still need customer action or follow-up from your team. These are clearly identified in your dashboard so you can quickly follow up and resolve this with the customer.
Selling through a store, a form or another app?
A single plan link works well when everyone pays the same price. When the total or the customer changes each time, use a Paythen template: one link that creates a fresh payment plan for each customer, with the amount and their details passed in from wherever they started.
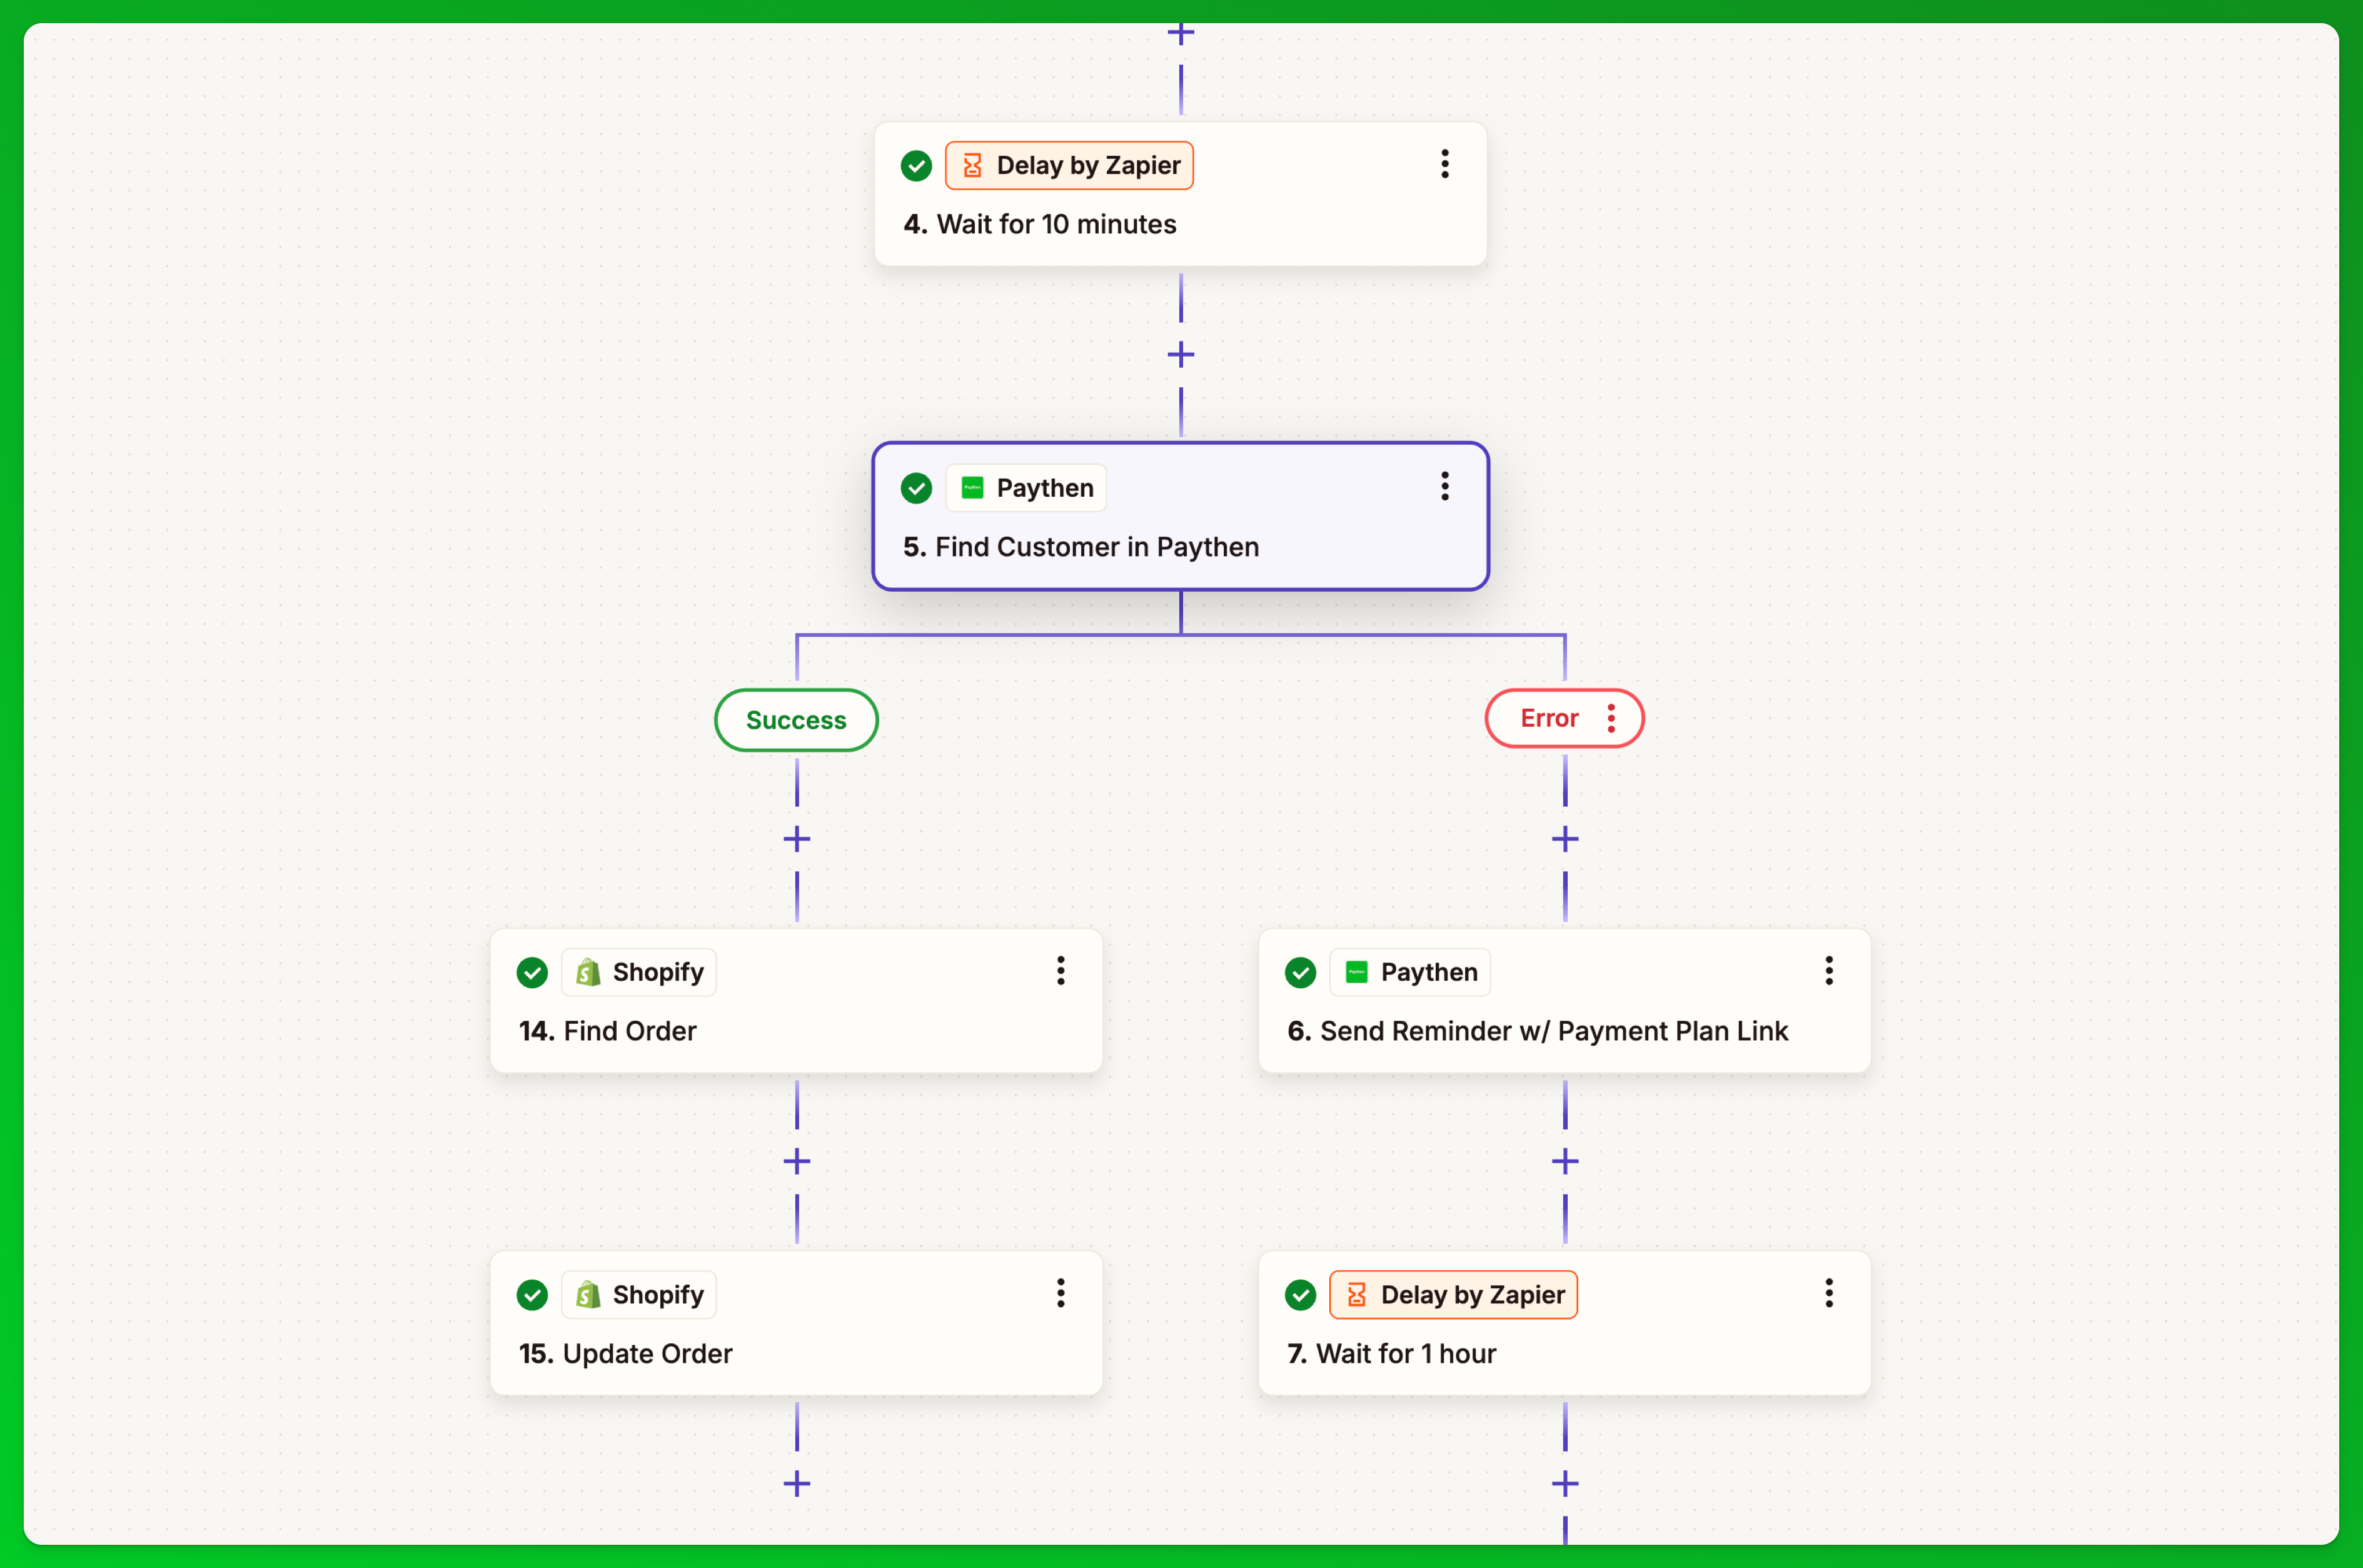
- Online stores: our WooCommerce payment plans plugin adds a payment plan option at checkout, so shoppers can pay off any cart over time. On Shopify, customers choose the Paythen payment plan option at checkout and get an email with their own plan link to start paying, set up once with Zapier (Shopify payment plans).
- Your existing forms: keep the enrolment, booking or order form you already use (Jotform, Gravity Forms, Typeform and similar) and send customers on to a template link. Their plan is created with the details they just entered, and you can lock pre-filled fields so they can’t be changed.
- Advanced workflows with Zapier: connect Paythen to 7,000+ apps. Send a tailored plan link when a deal closes in your CRM, or update your email, CRM and accounting tools when a customer signs up or their status changes. See integrations.
Can I create a payment plan using Stripe alone?
Yes, in a limited way. Stripe has invoice payment plans currently documented as a private-preview feature.
Those invoice plans let you divide an invoice into payments with separate due dates. However, Stripe’s documentation says customers must return to the payment page for subsequent payments; those plans don’t automatically charge saved payment details. See Stripe’s current payment plan documentation. If you’d rather have each instalment charged automatically, with reminders and retries, that’s what Paythen adds on top of your Stripe account.
The walkthrough above is for a different workflow: creating a shareable Paythen link with automatic instalment collection, reminders, retries and more, through your connected Stripe account.
Do I receive the full amount upfront?
No. With Paythen, you receive payments as your customer pays each instalment. Transfers to your bank follow your Stripe payout schedule.
Paythen isn’t a lender and doesn’t advance the unpaid balance. Your business retains the risk of a customer not completing their payments – although we provide you various tools that help you minimise and mitigate this.
When a payment comes through, it immediately and directly goes into your Stripe account, and from there it is paid out by Stripe (less Paythen and Stripe fees) to your bank account based on your payout schedule.
More about when you get paid.
What does it cost?
Paythen costs 2% per payment, plus Stripe fees. There’s no monthly fee. Many businesses choose to pass these on to customers for the convenience of a payment plan as a small surcharge or admin fee. Weighing this against buy now, pay later? See Stripe buy now, pay later vs your own payment plans.
Set up a payment plan for your next customer, student or client
Start with what you already sell—a course, a coaching package or a client project. Decide what’s due today and how you want to collect the balance.
Then create your plan and share the link wherever they are – email, whatsapp, link in bio. You can use the same link for one customer or many.
Create your payment-plan link →
Need a hand choosing the right payment plan or schedule? Just tell us what you’re selling through the chat icon on this page and we’d love to help you set this up!